 WinSCP free utility allows you to send your files over the network with windows nodes securely and easily.
WinSCP support secure protocols for transferring files via SFTP and SSH.
WinSCP is a free, open source file transfer program written for Microsoft Windows. It implements several file transfer protocols, most notably SFTP via SSH.
This tool permit you to securely transfer files to and from your Linux using an encrypted channel, keep away from the security problems and usability concern inherent in traditional FTP systems.
WinSCP sends both your login credentials and file transfers over the network securely encrypted, while standard FTP clients send this information as plaintext.See the Complete Tutorial. Click on Read More Button.
Your can download this open source software from official website Download WinSC.
Find Installation Package and download the file to your desktop. after completing download double click on the downloaded file.
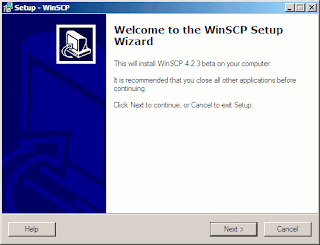
Your Will See This First Screen
1-Click Next

2-Accept the License Information. Click Next
3-Select (Recommended Option) Click Next for Continue.
4-Again Go with Default option commander interface Click Next
It will take some time to complete the installation process.
Okay..!!
Installation has been Done.
Now the Question is that how can we Use it?
Don't worry we are with you, just follow the below steps. and be happy..
Basic Usage of WinSCP.
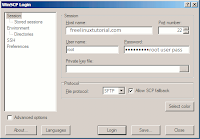
1- Once you run the program.you will be see a screen like this.
In the Host name field you must enter your fully qualified domain name or IP Address of your Host. Port No should be 22 default port of your ssh session.
And click on Login Button.
2- You will see this warrning message when you login first time with your WinSCP Application.
Just Click on Yes Button.
Note
Before Click On Yes Button. you have to execute this command in your Linux Host.
#ssh-keygen -l -f /etc/ssh/ssh_host_rsa_key.pubOkay..!!Once you have accepted the host key, you'll be able to see a dual-pane session window similar to the below image..
Hope you Enjoy This Working Tutorial...
Don't forgot to follow us on Facebook fan Page Click here to Become A Fan.


0 Comment:
Post a Comment